共计 893 个字符,预计需要花费 3 分钟才能阅读完成。
最近网站想留下邮箱地址,但是域名较多,都想有自己独立的 [email protected] 管理员邮箱,选来选去,干脆自己部署一个,这样想怎么玩就怎么玩了。
一、环境说明
独立服务器,Centos7.3,iRedMail-0.9.9.tar.bz2,Mysql5.7.25,(Mysql8.0 有问题,rank)
二、操作系统准备
先进行 yum update - y 更新系统
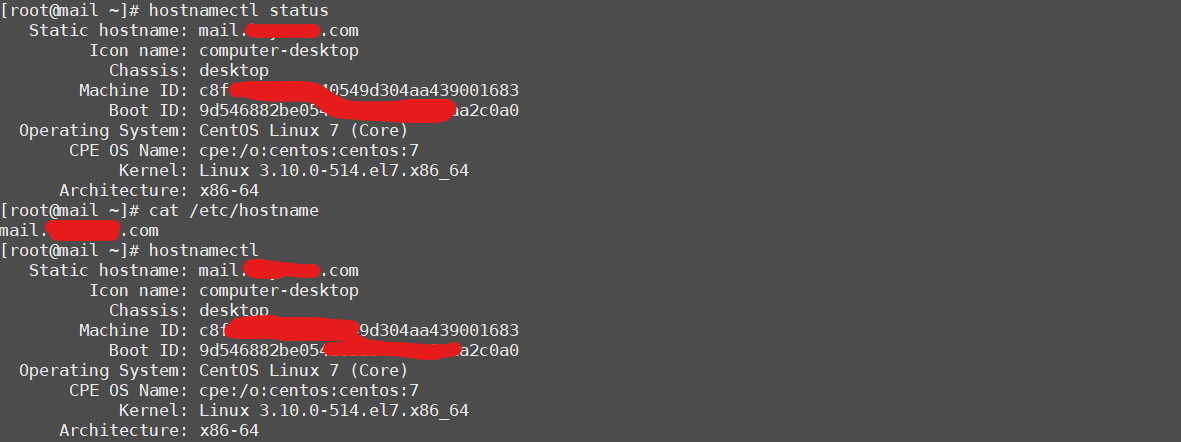
hostnamectl set-hostname 修改系统主机名称

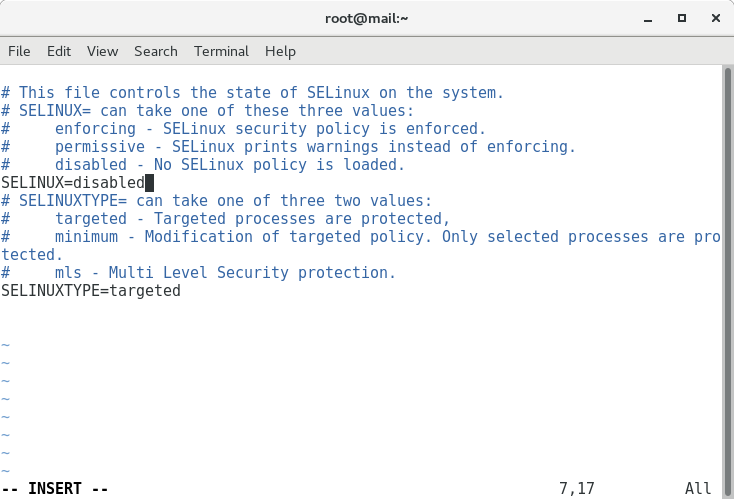
禁用 SELinux
三、安装 iRedMail
当前最新稳定版为 2018 年 12 月 17 日发布的 iRedMail-0.9.9.tar.bz2,详细信息参考官网https://www.iredmail.com/download.html

输入命令 wget https://bitbucket.org/zhb/iredmail/downloads/iRedMail-0.9.9.tar.bz2 下载安装包

输入 tar xjf iRedMail-0.9.9.tar.bz2 解压,进入解压后的文件夹中(如果提示 tar (child): lbzip2: Cannot exec: No such file or directory,请运行 yum -y install bzip2,安装 bzip2 后就能正常解压了)

运行 bash iRedMail.sh 进行安装。
(很多文章有提到由于 sh 国内无法解析,需要修改国内镜像源的问题。但是我这个服务器在国外,所以就没有修改了,另外尽量先运行看能否正常安装再进行修改,即使个别文件无法下载,也可以根据 URL 使用浏览器下载后放到 /iRedMail-0.9.8/pkgs/misc/ 目录下即可正常进行安装。)
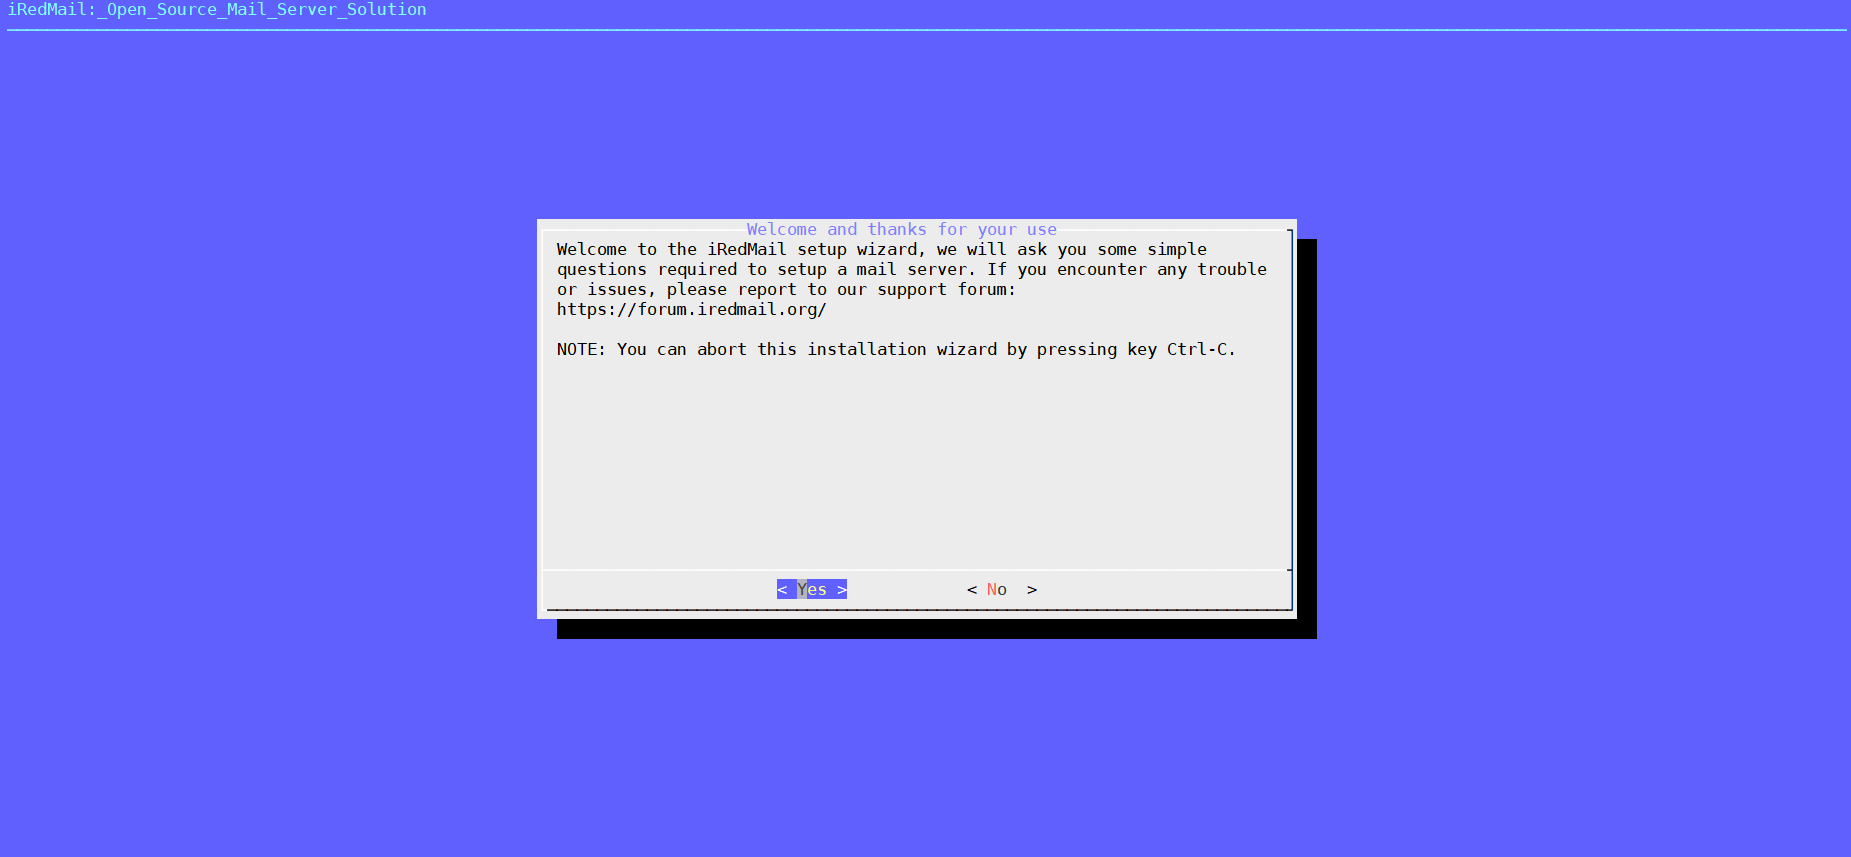
安装过程截图:
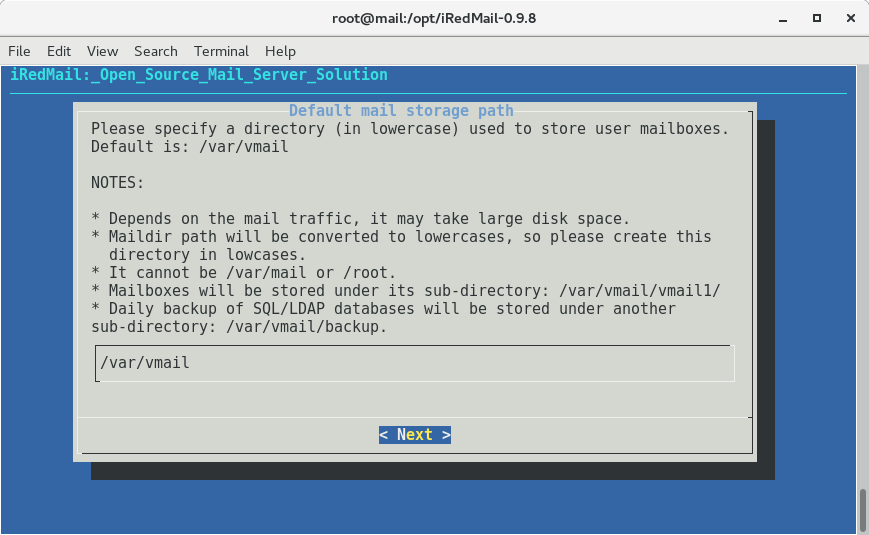
用户邮箱位置,使用默认或者自己指定目录(安装太快,忘记截图,网上找补图,内容一致)
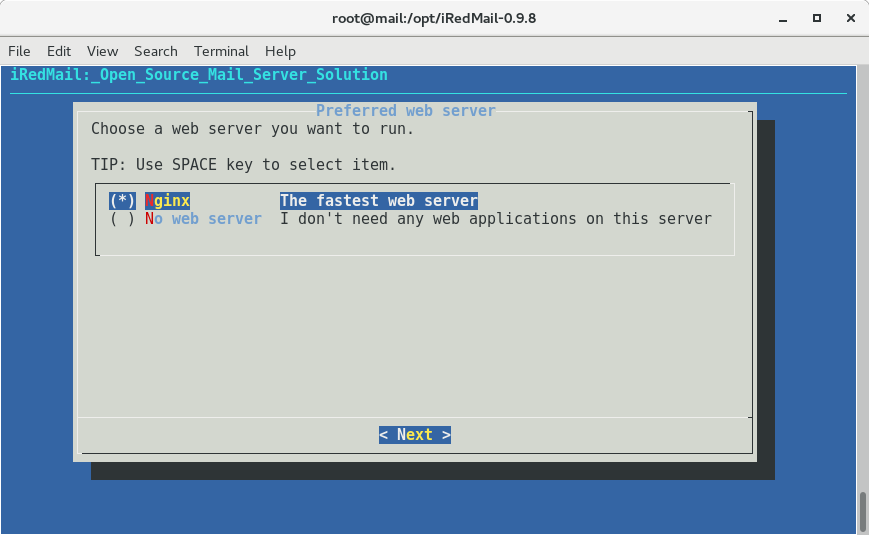
选择 Nginx 作为 Web server
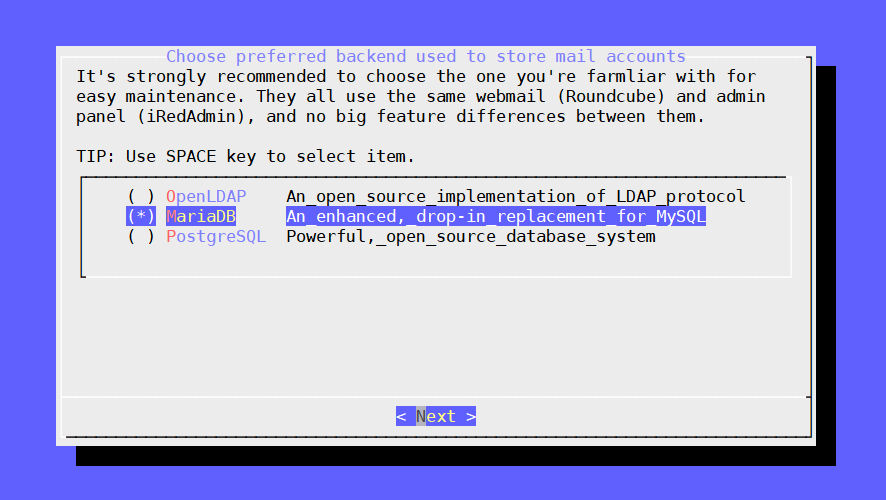
选择邮件账户存储数据库,因为已经安装好了 mysql,所以这里选择了 MariaDB
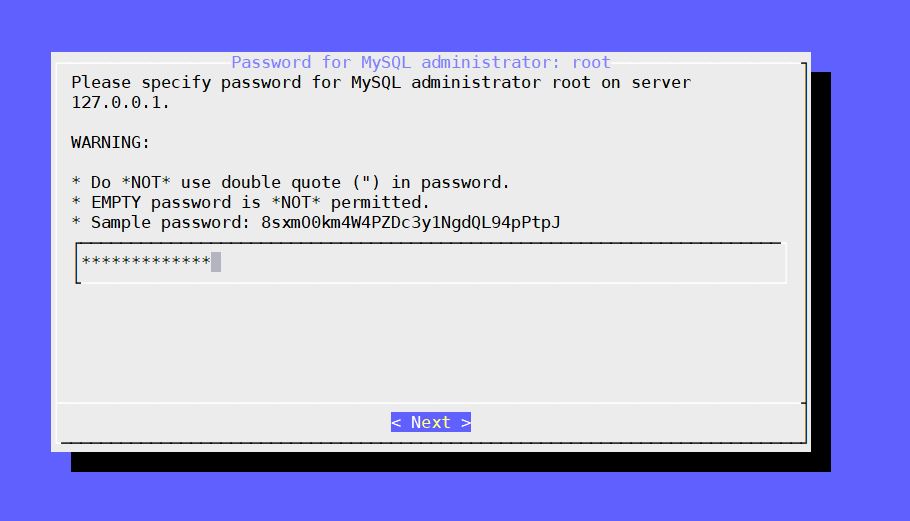
设置 Mysql 管理员密码
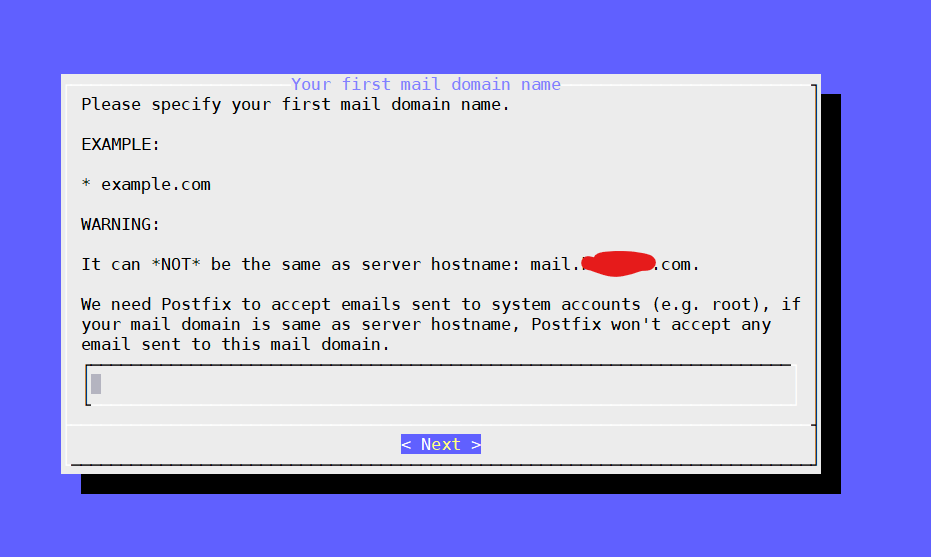
设置邮件域
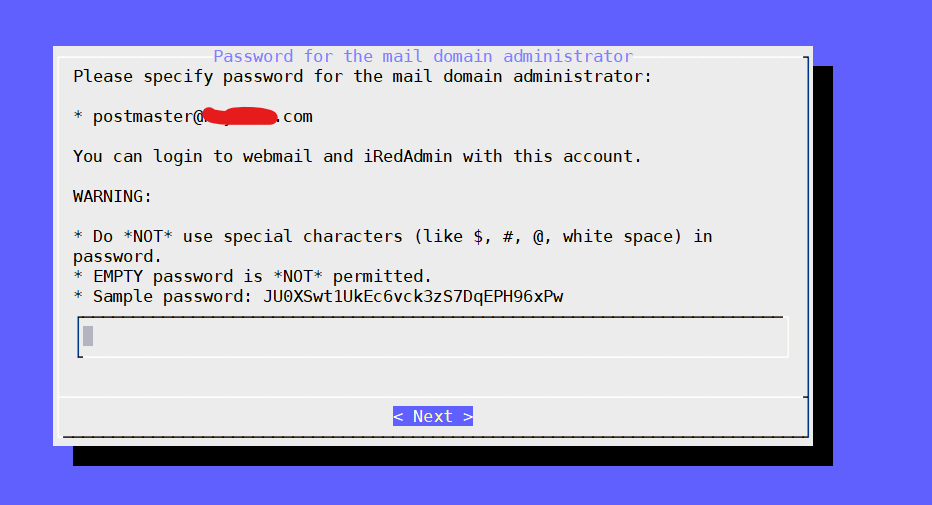
设置邮件域管理员 [email protected] 的密码
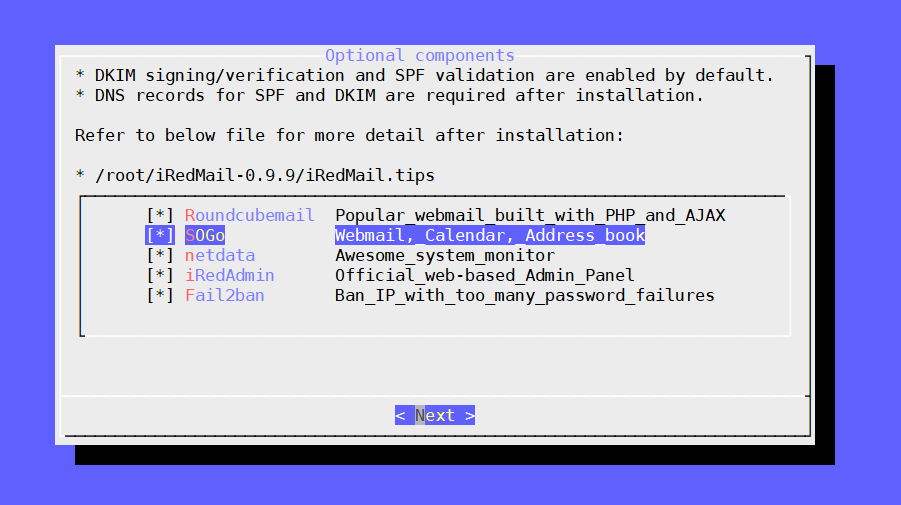
选择功能,我这里全部选择
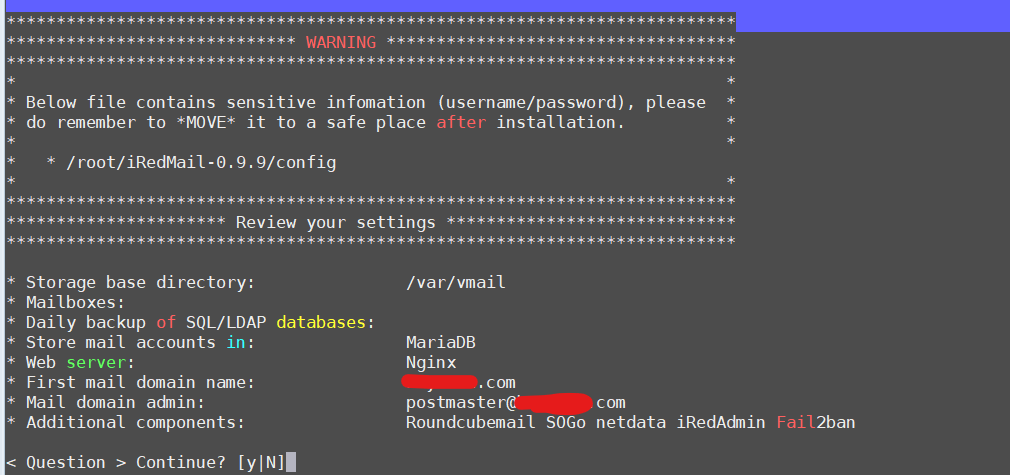
配置信息汇总确认
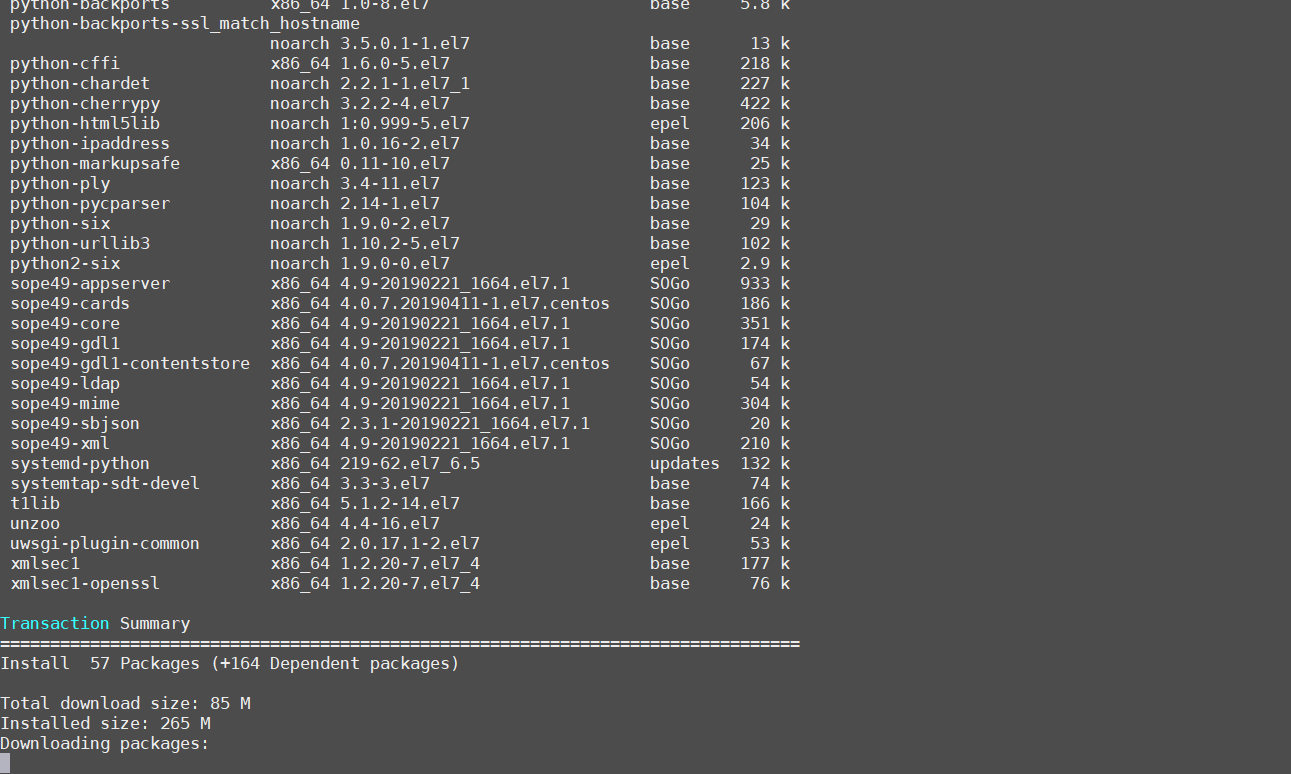
一共安装 57+164 个 packages